How to Change Print Margins in Adobe Acrobat
Understanding Print Margins in Adobe Acrobat
When working with documents in Adobe Acrobat, it's essential to have control over the print margins to ensure your documents print correctly. Print margins refer to the blank space between the edge of the paper and the content of your document. By default, Adobe Acrobat sets the print margins, but you can easily change them to suit your needs. In this article, we'll explore how to change print margins in Adobe Acrobat.
Understanding the print margins in Adobe Acrobat is crucial before making any changes. The print margins are set by default, but you can adjust them to fit your specific printing requirements. You can change the margins for the top, bottom, left, and right sides of the document. This flexibility allows you to customize the layout of your document and ensure it prints perfectly.
Step-by-Step Guide to Changing Print Margins
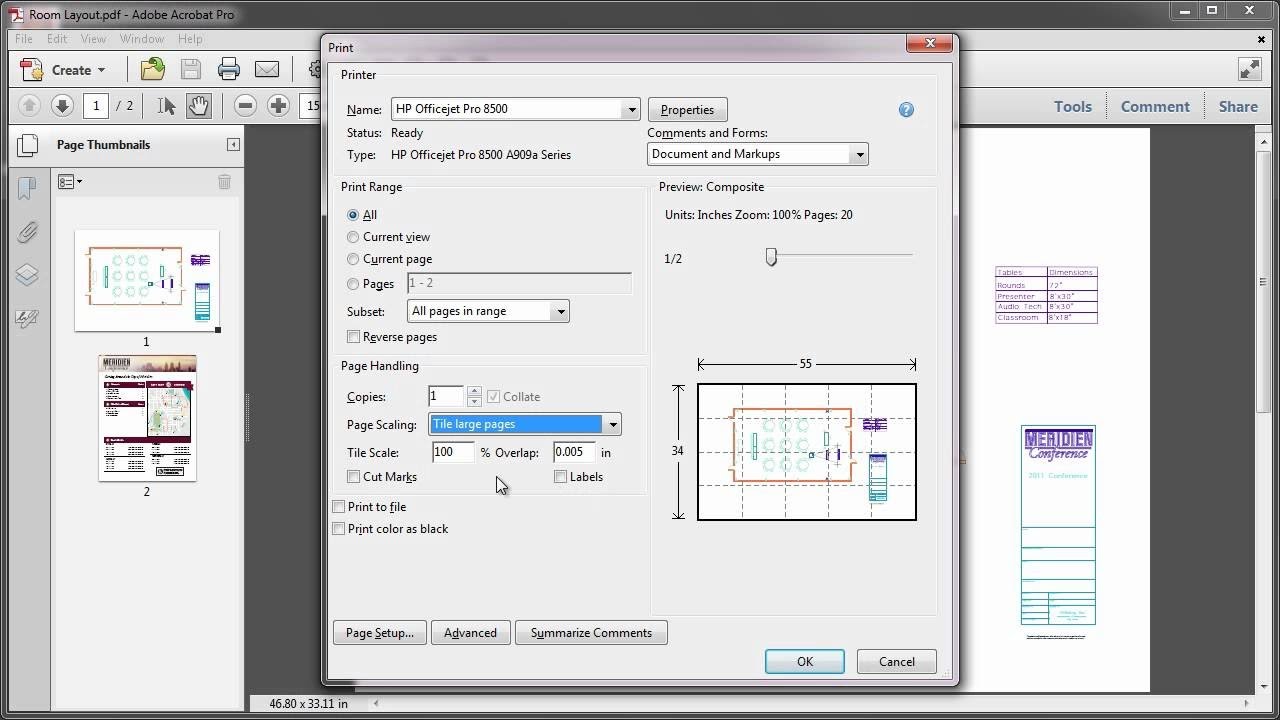
To change the print margins in Adobe Acrobat, follow these simple steps: open your document, go to the 'File' menu, select 'Print', and then click on the 'Properties' or 'Preferences' button. In the print dialog box, click on the 'Layout' or 'Margins' tab, depending on your version of Adobe Acrobat. Here, you can enter your desired margin values for the top, bottom, left, and right sides of the document. You can also choose from predefined margin settings or use the 'Custom' option to set your own margins.
By following these easy steps, you can change the print margins in Adobe Acrobat and achieve professional-looking printing results. Remember to save your changes before printing your document. With the ability to customize print margins, you have more control over the layout and appearance of your documents. This feature is especially useful when printing documents with specific margin requirements, such as resumes, reports, or brochures. With Adobe Acrobat, you can easily adjust the print margins to meet your printing needs.