Cutting Printables Straight Lines: A Guide to Perfect Edges


Tips for Cutting Straight Lines
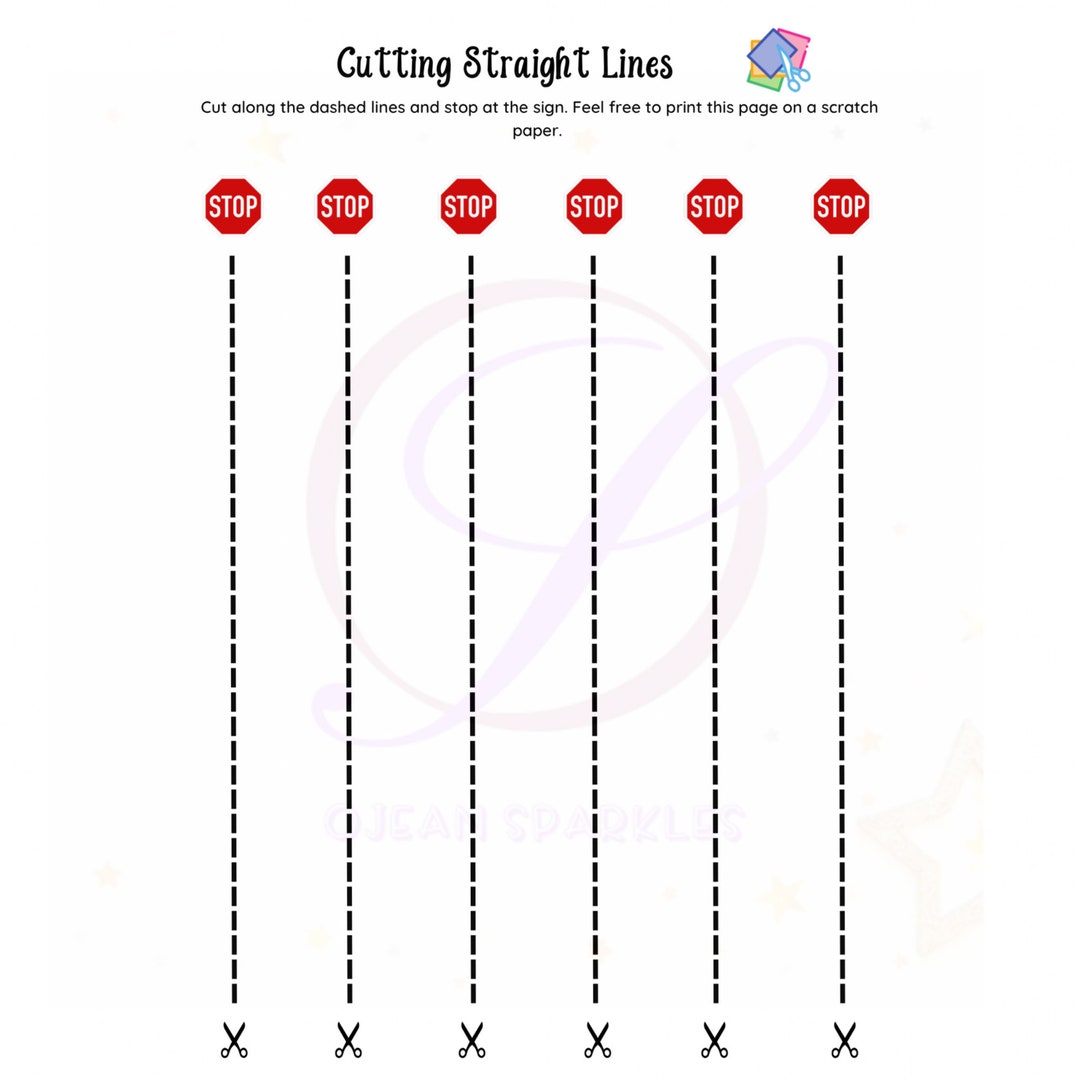
Cutting printables with straight lines can be a daunting task, especially for those who are new to crafting or DIY projects. However, with the right techniques and tools, you can achieve professional-looking results and take your projects to the next level. In this article, we will explore the best ways to cut printables with straight lines and provide you with tips and tricks for perfect edges.
When it comes to cutting printables, the type of tool you use can make all the difference. A good pair of scissors or a craft knife can help you achieve straight lines, but it's also important to use a ruler or other straightedge to guide your cut. This will help you stay on track and avoid wobbly or uneven edges. Additionally, using a cutting mat or other protective surface can help prevent damage to your work surface and make cleanup easier.
Common Mistakes to Avoid
To cut printables with straight lines, it's also important to use the right technique. This includes applying gentle pressure and using a smooth, steady motion to guide your cut. It's also a good idea to cut in small increments, checking your progress as you go to ensure that you're staying on track. By following these tips and using the right tools, you can achieve perfect edges and take your crafting projects to the next level.
Despite your best efforts, it's easy to make mistakes when cutting printables with straight lines. One common mistake is applying too much pressure, which can cause the paper to tear or the cut to become uneven. Another mistake is not using a straightedge or other guide, which can result in wobbly or crooked lines. By being aware of these common mistakes and taking steps to avoid them, you can achieve professional-looking results and create beautiful, straight-edged printables.