Creating Mailing Labels from Google Spreadsheets: A Step-by-Step Guide
Setting Up Your Google Spreadsheet
If you're looking for a way to create mailing labels from a Google Spreadsheet, you're in the right place. Google Spreadsheets is a powerful tool that can help you organize and manage your data, and with a few simple steps, you can turn your spreadsheet into a set of professional-looking mailing labels. Whether you're a business owner looking to send out mailers to your customers or an individual looking to send out invitations to a party, creating mailing labels from a Google Spreadsheet is a great way to save time and effort.
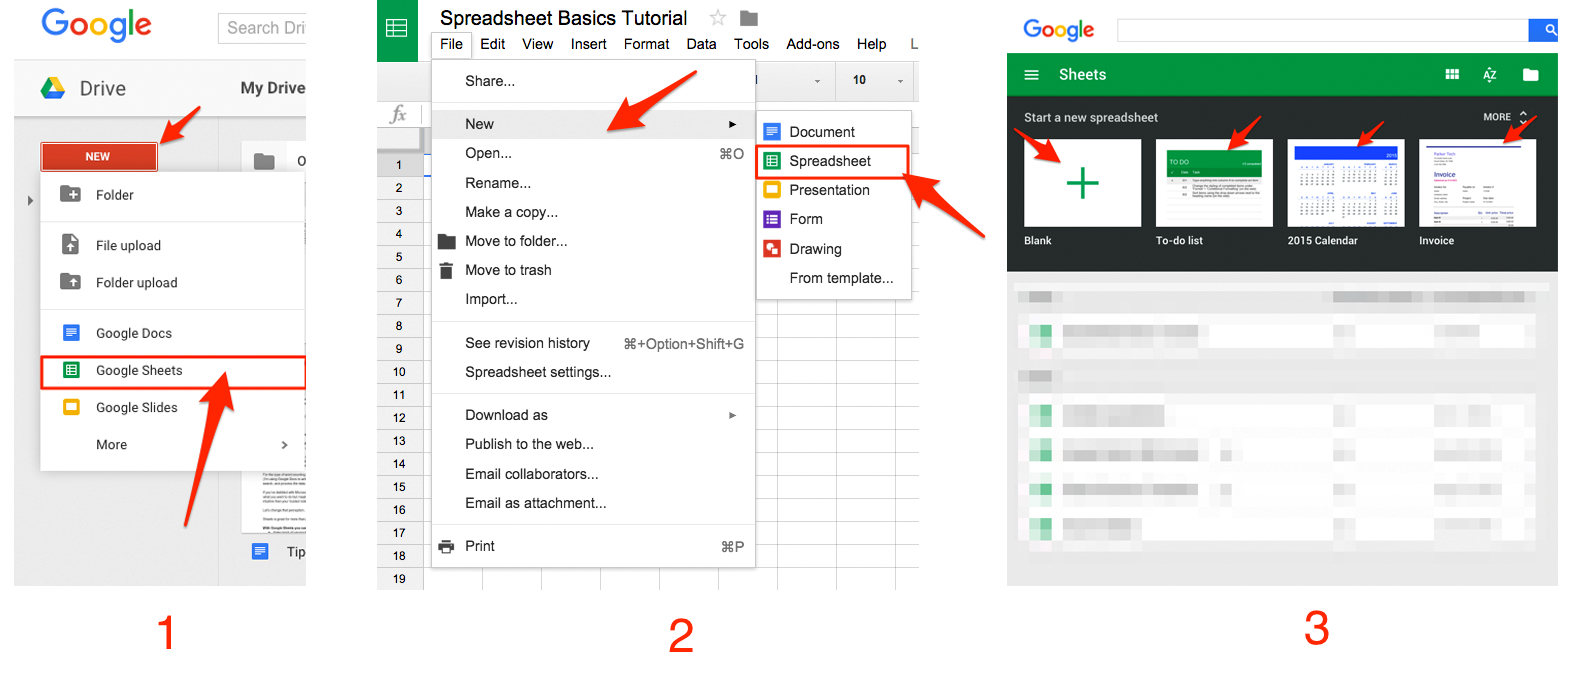
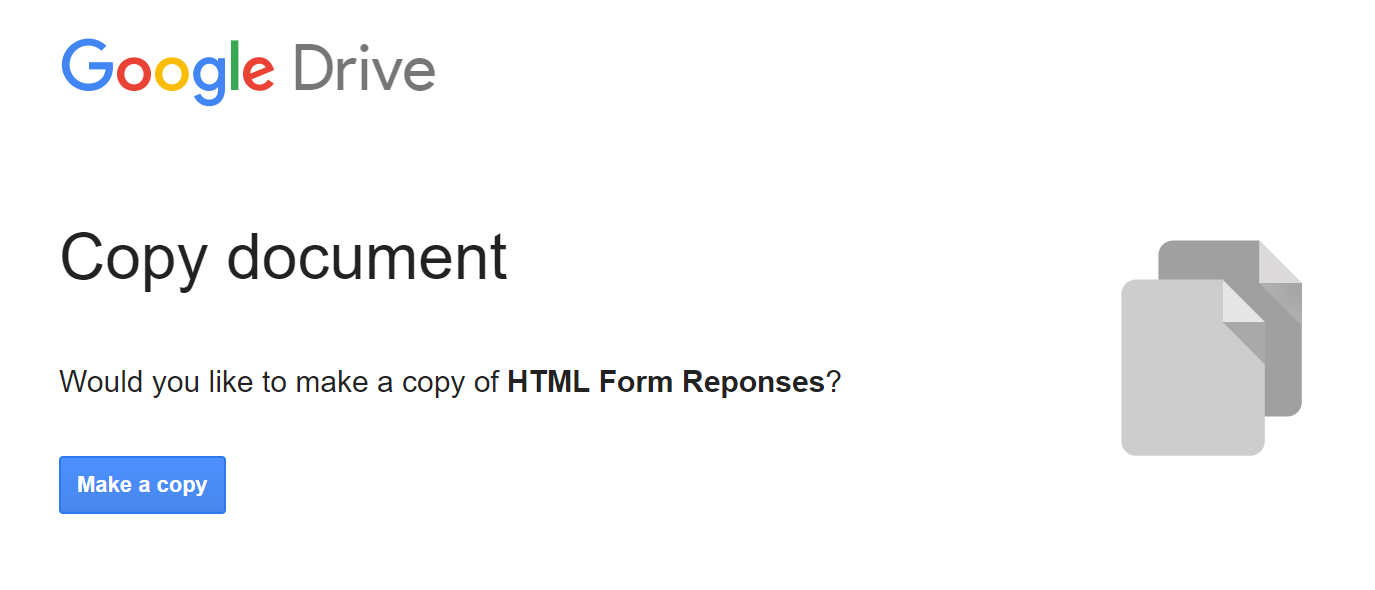
To get started, you'll need to set up your Google Spreadsheet with the data you want to use for your mailing labels. This can include names, addresses, and any other relevant information. Once you have your data organized, you can use Google's built-in functions to format your spreadsheet and prepare it for printing. You can also use add-ons like Avery Label Merge or Mail Merge to help you create your labels.
Printing Your Mailing Labels
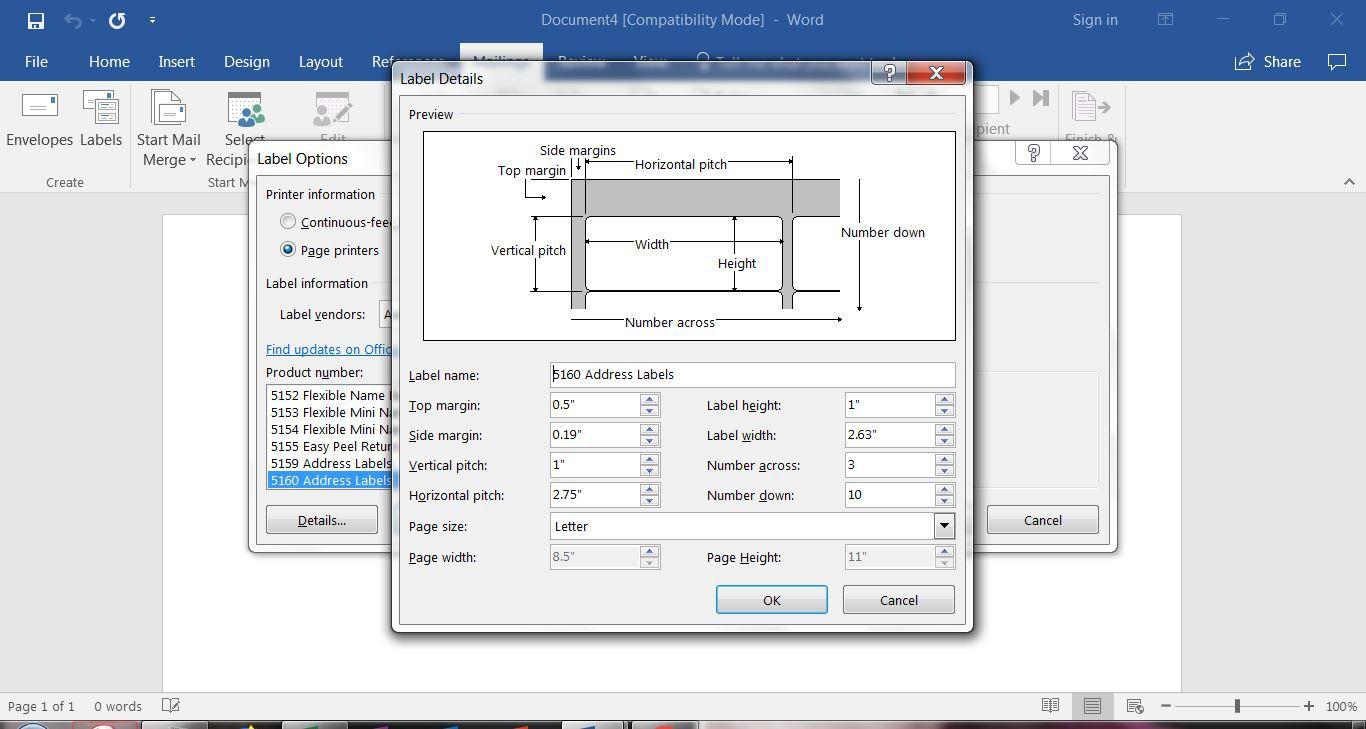
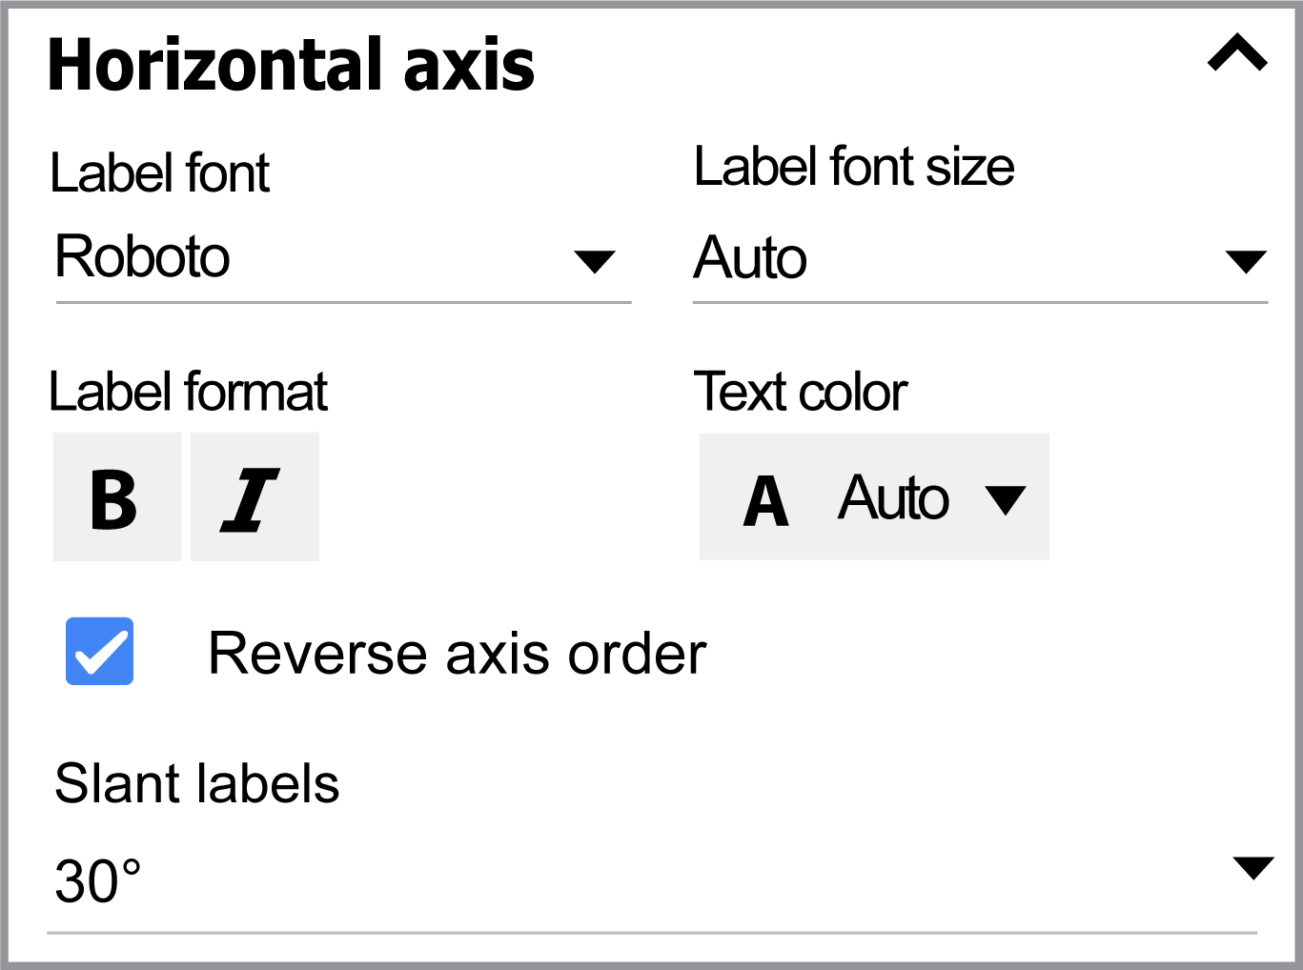
With your spreadsheet set up, you can move on to the next step: printing your mailing labels. This is where things can get a little tricky, but don't worry, it's still relatively easy. You'll need to use a label template to format your labels correctly, and then use Google's printing function to send your labels to the printer. You can also use a service like Google Cloud Print to print your labels remotely.
Once you've printed your mailing labels, you can use them to send out your mailers or invitations. You can also save them to a PDF file or export them to a different format for later use. With Google Spreadsheets, creating mailing labels is a breeze, and with a little practice, you'll be a pro in no time. So why not give it a try today and see how easy it is to create professional-looking mailing labels from a Google Spreadsheet?