How to Change Grayscale Image to Color in Illustrator
Understanding Grayscale Images
Are you looking to add some color to your grayscale images in Adobe Illustrator? Whether you're a graphic designer, artist, or hobbyist, converting grayscale images to color can be a great way to enhance your designs and make them more visually appealing. In this article, we'll show you how to change grayscale images to color in Illustrator, and provide some tips and tricks along the way.
When working with grayscale images, it's essential to understand that they are made up of different shades of gray, ranging from pure black to pure white. Grayscale images can be useful for creating simple, elegant designs, but they can also lack the vibrancy and emotion that color can bring. Fortunately, Illustrator provides several tools and techniques for converting grayscale images to color, including the use of layers, masks, and color profiles.
Converting Grayscale to Color
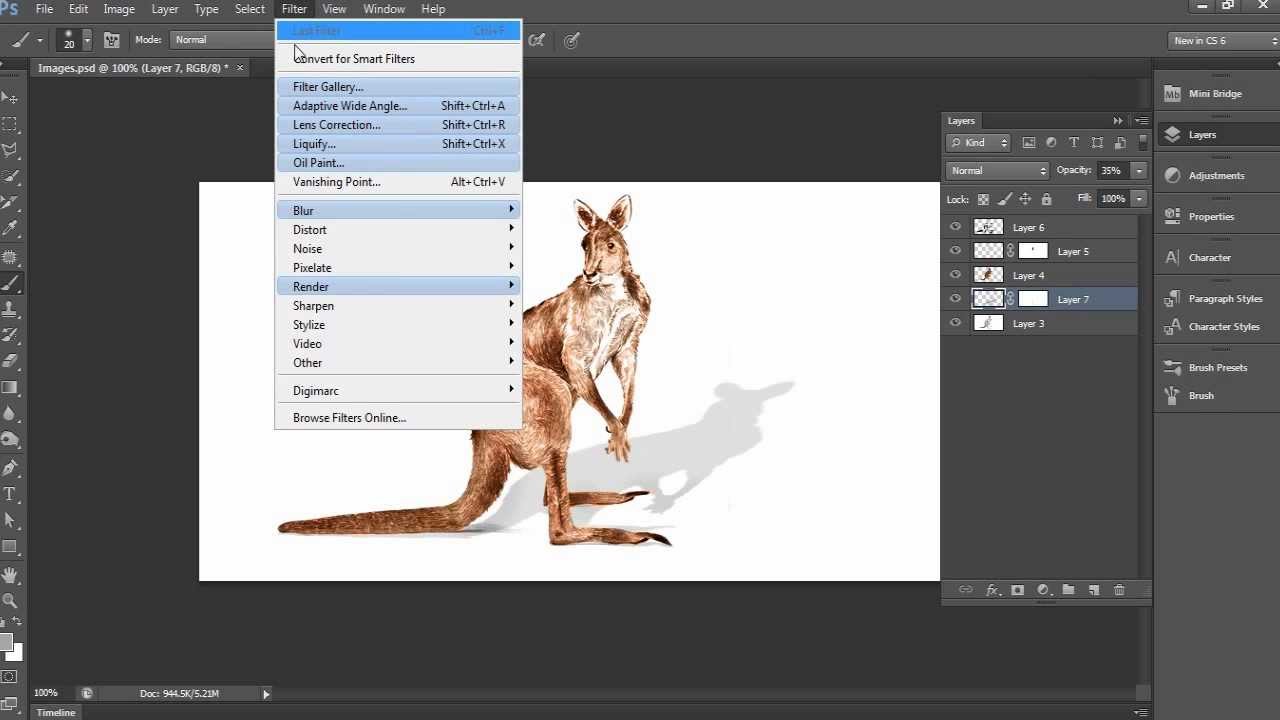
To convert a grayscale image to color, you'll need to start by selecting the image in Illustrator and then using the 'Edit' menu to access the 'Edit Colors' option. From here, you can use the 'Convert to Color' feature to automatically convert the grayscale image to a color image. Alternatively, you can use the 'Colorize' feature to manually add color to the image, using a range of different color profiles and settings. Converting Grayscale to Color
Once you've converted your grayscale image to color, you can use Illustrator's range of tools and features to refine and enhance the image. This can include adjusting the color balance, contrast, and saturation, as well as adding textures, gradients, and other effects. With a little practice and patience, you can create stunning, colorful designs from your grayscale images, and take your artwork to the next level.