How to Change Worksheet Margins in Excel: A Step-by-Step Guide

Understanding Worksheet Margins in Excel
When working with Excel, it's essential to have a well-organized and visually appealing worksheet. One often overlooked aspect of worksheet design is the margin settings. Margins play a crucial role in determining the layout and printing of your spreadsheet. In this article, we'll show you how to change worksheet margins in Excel, making it easier to print and share your worksheets.
To change the worksheet margins in Excel, you'll need to access the Page Layout tab. From there, you can adjust the margin settings to your desired specifications. You can choose from a range of preset margin settings or customize your own. It's also important to note that margin settings can be different for each worksheet in your Excel file, giving you flexibility and control over your spreadsheet's layout.
Adjusting Worksheet Margins for Printing
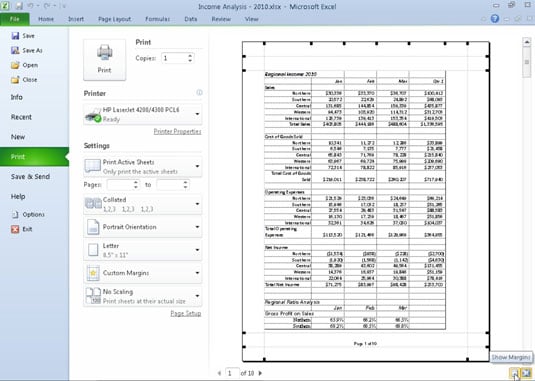
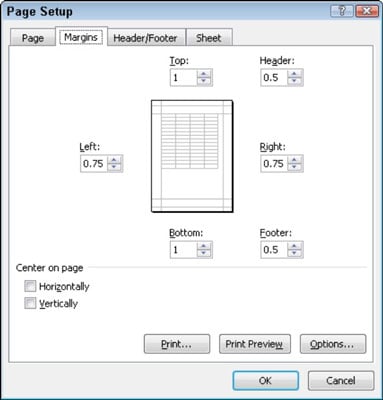
Excel provides several options for adjusting worksheet margins, including top, bottom, left, and right margins. You can also adjust the header and footer margins, which is useful for adding titles, dates, or other information to your printed worksheets. By adjusting the margin settings, you can ensure that your worksheets print correctly and look professional. Whether you're printing reports, invoices, or other documents, adjusting the worksheet margins is an essential step in the process.
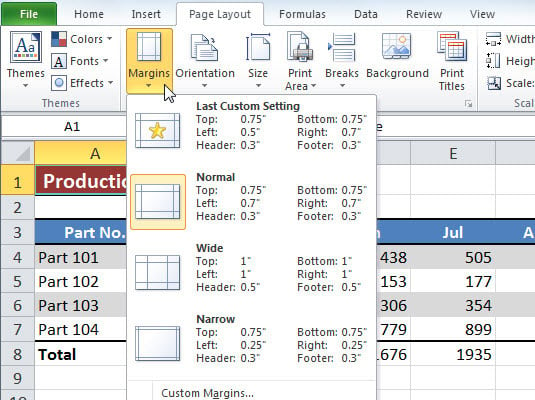
To adjust the worksheet margins for printing, simply go to the Page Layout tab, click on the Margins button, and select the desired margin setting. You can also customize the margin settings by clicking on the Custom Margins option. From there, you can enter your desired margin settings and click OK to apply the changes. By following these simple steps, you can change the worksheet margins in Excel and improve the overall layout and printing of your spreadsheets.