How to Create a Calendar Invite in Outlook


Step 1: Create a New Calendar Invite
Creating a calendar invite in Outlook is a straightforward process that can help you schedule meetings and events with ease. With Outlook, you can create a new calendar invite and send it to your colleagues or friends, who can then accept or decline the invitation. In this article, we'll show you how to create a calendar invite in Outlook and make the most of its features.
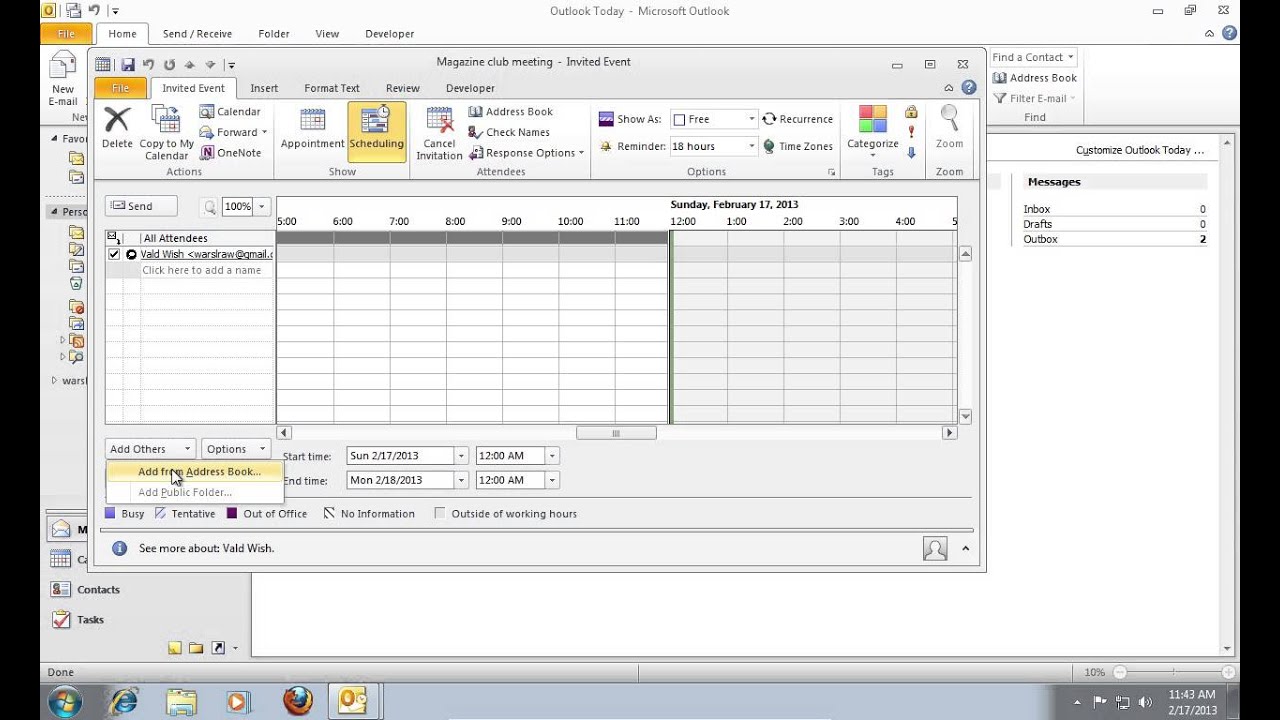
To create a new calendar invite, you need to open Outlook and navigate to the Calendar section. Here, you can create a new calendar invite by clicking on the 'New Calendar Invite' button. This will open a new window where you can enter the meeting details, such as the subject, location, and start and end times. You can also add recipients to the meeting by entering their email addresses or selecting them from your contact list.
Step 2: Add Meeting Details and Recipients
Step 1: Create a New Calendar Invite - Once you've opened the new calendar invite window, you can enter the meeting details and add recipients to the meeting. You can also add a meeting subject, location, and start and end times. Additionally, you can add attachments or meeting notes to the invitation.
Step 2: Add Meeting Details and Recipients - Finally, you can send the calendar invite to your colleagues or friends by clicking on the 'Send' button. This will send the invitation to the recipients, who can then accept or decline the invitation. With Outlook, you can also track the responses to your calendar invite and make changes to the meeting details as needed.