How to Create an Excel Spreadsheet: A Step-by-Step Guide

Getting Started with Excel
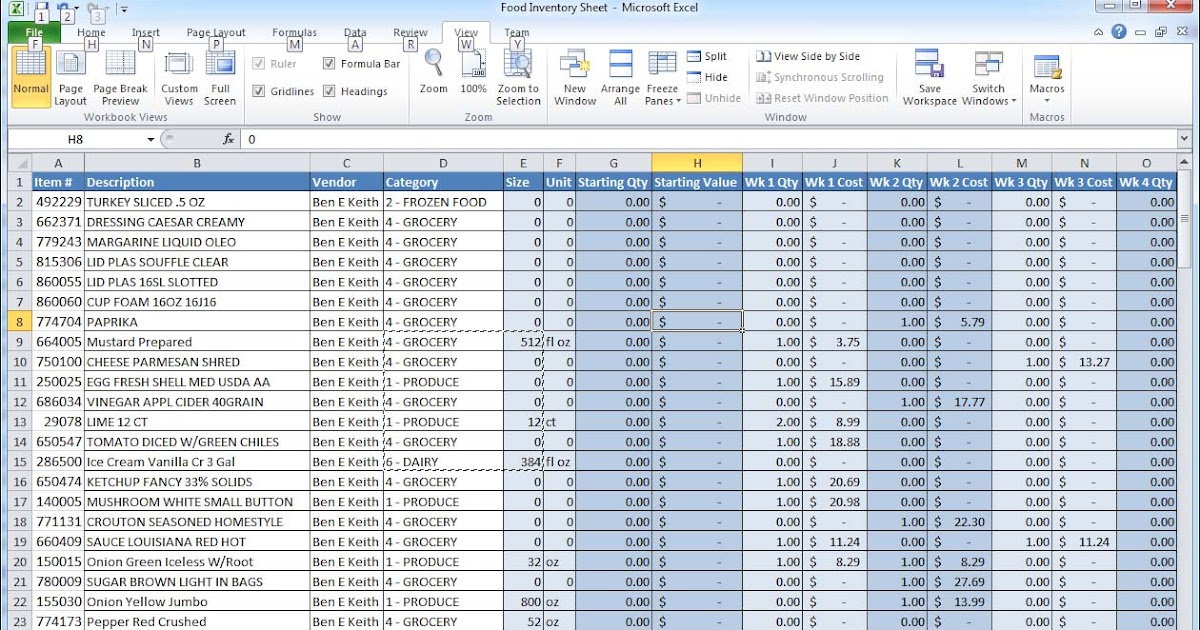
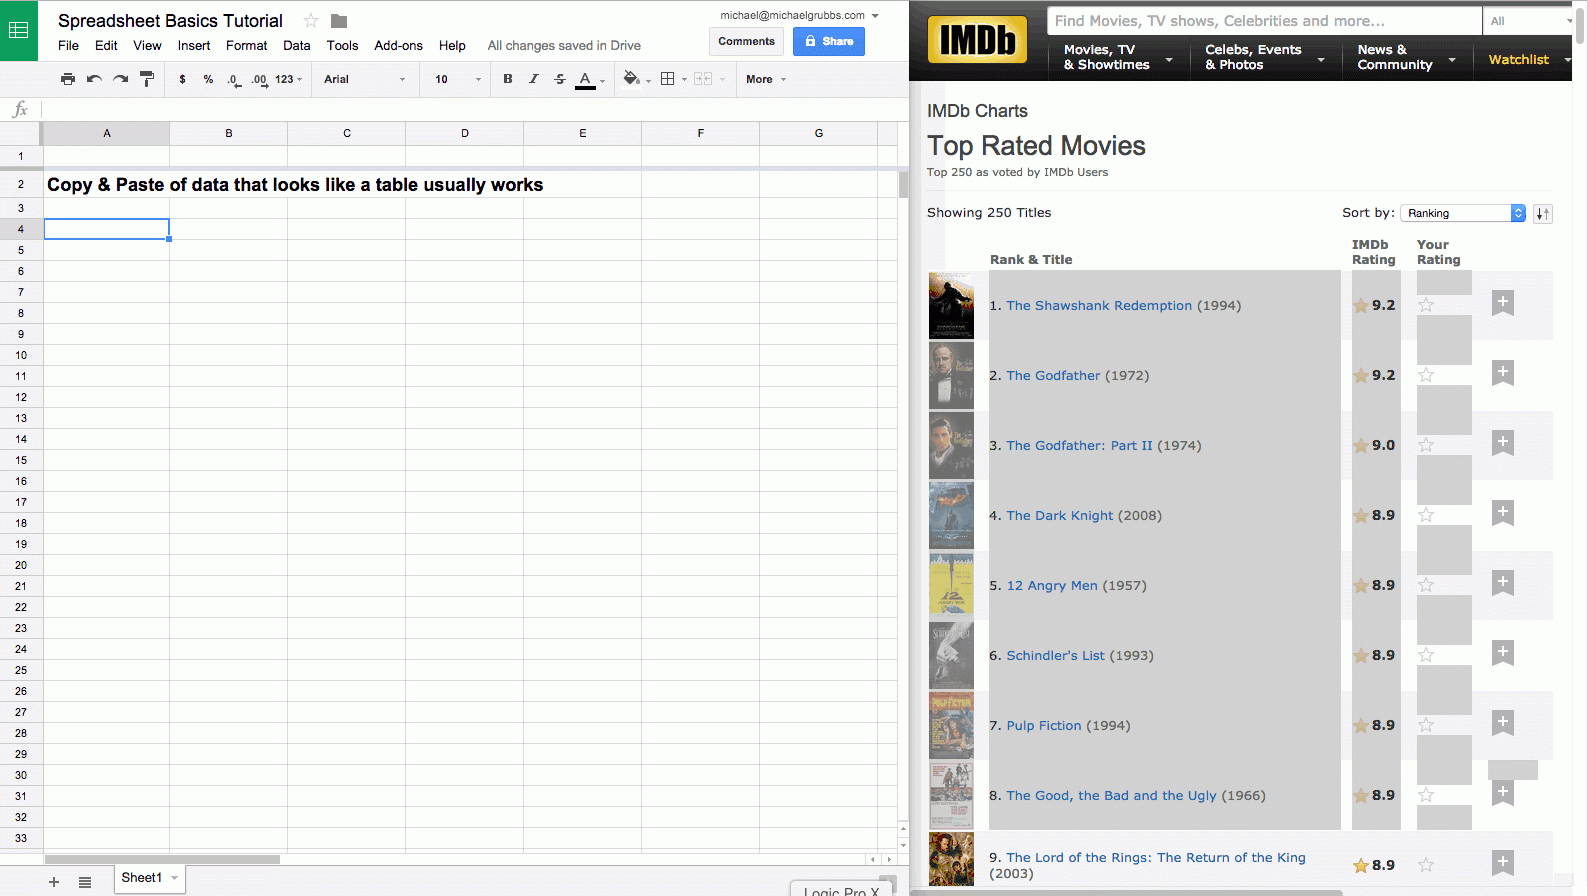
Creating an Excel spreadsheet can seem like a daunting task, especially if you're new to the world of spreadsheet software. However, with a few simple steps, you can create a professional-looking spreadsheet that will help you organize and analyze your data with ease. The first step is to open Excel and click on the 'File' tab. From there, select 'New' to create a new spreadsheet. You can then choose from a variety of templates or start from scratch with a blank spreadsheet.
Once you have your spreadsheet open, you can start entering your data. This can include numbers, text, and even formulas to help you calculate and analyze your data. To enter data, simply click on the cell where you want to enter the data and start typing. You can also use the 'AutoSum' feature to automatically calculate the sum of a range of cells.
Tips and Tricks for Creating a Great Spreadsheet
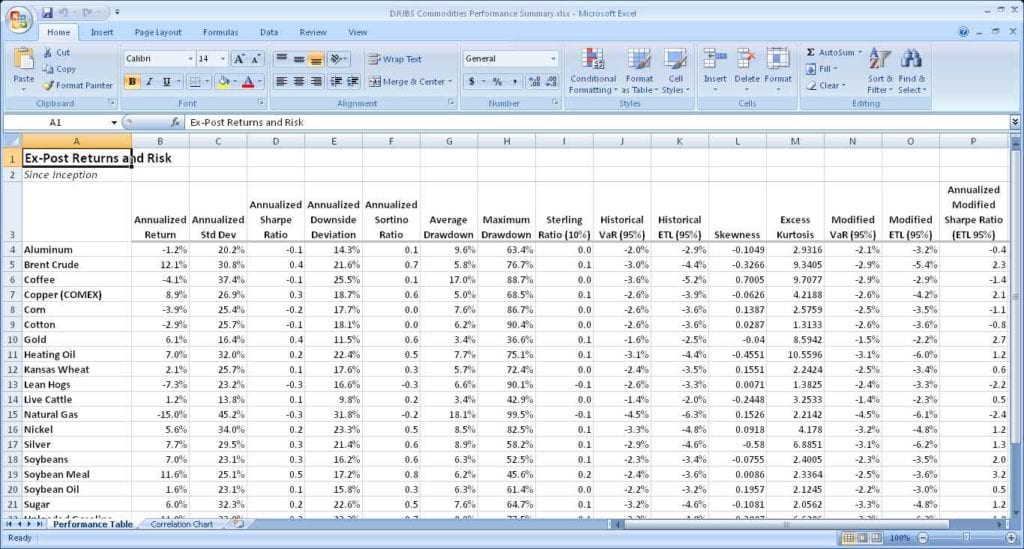
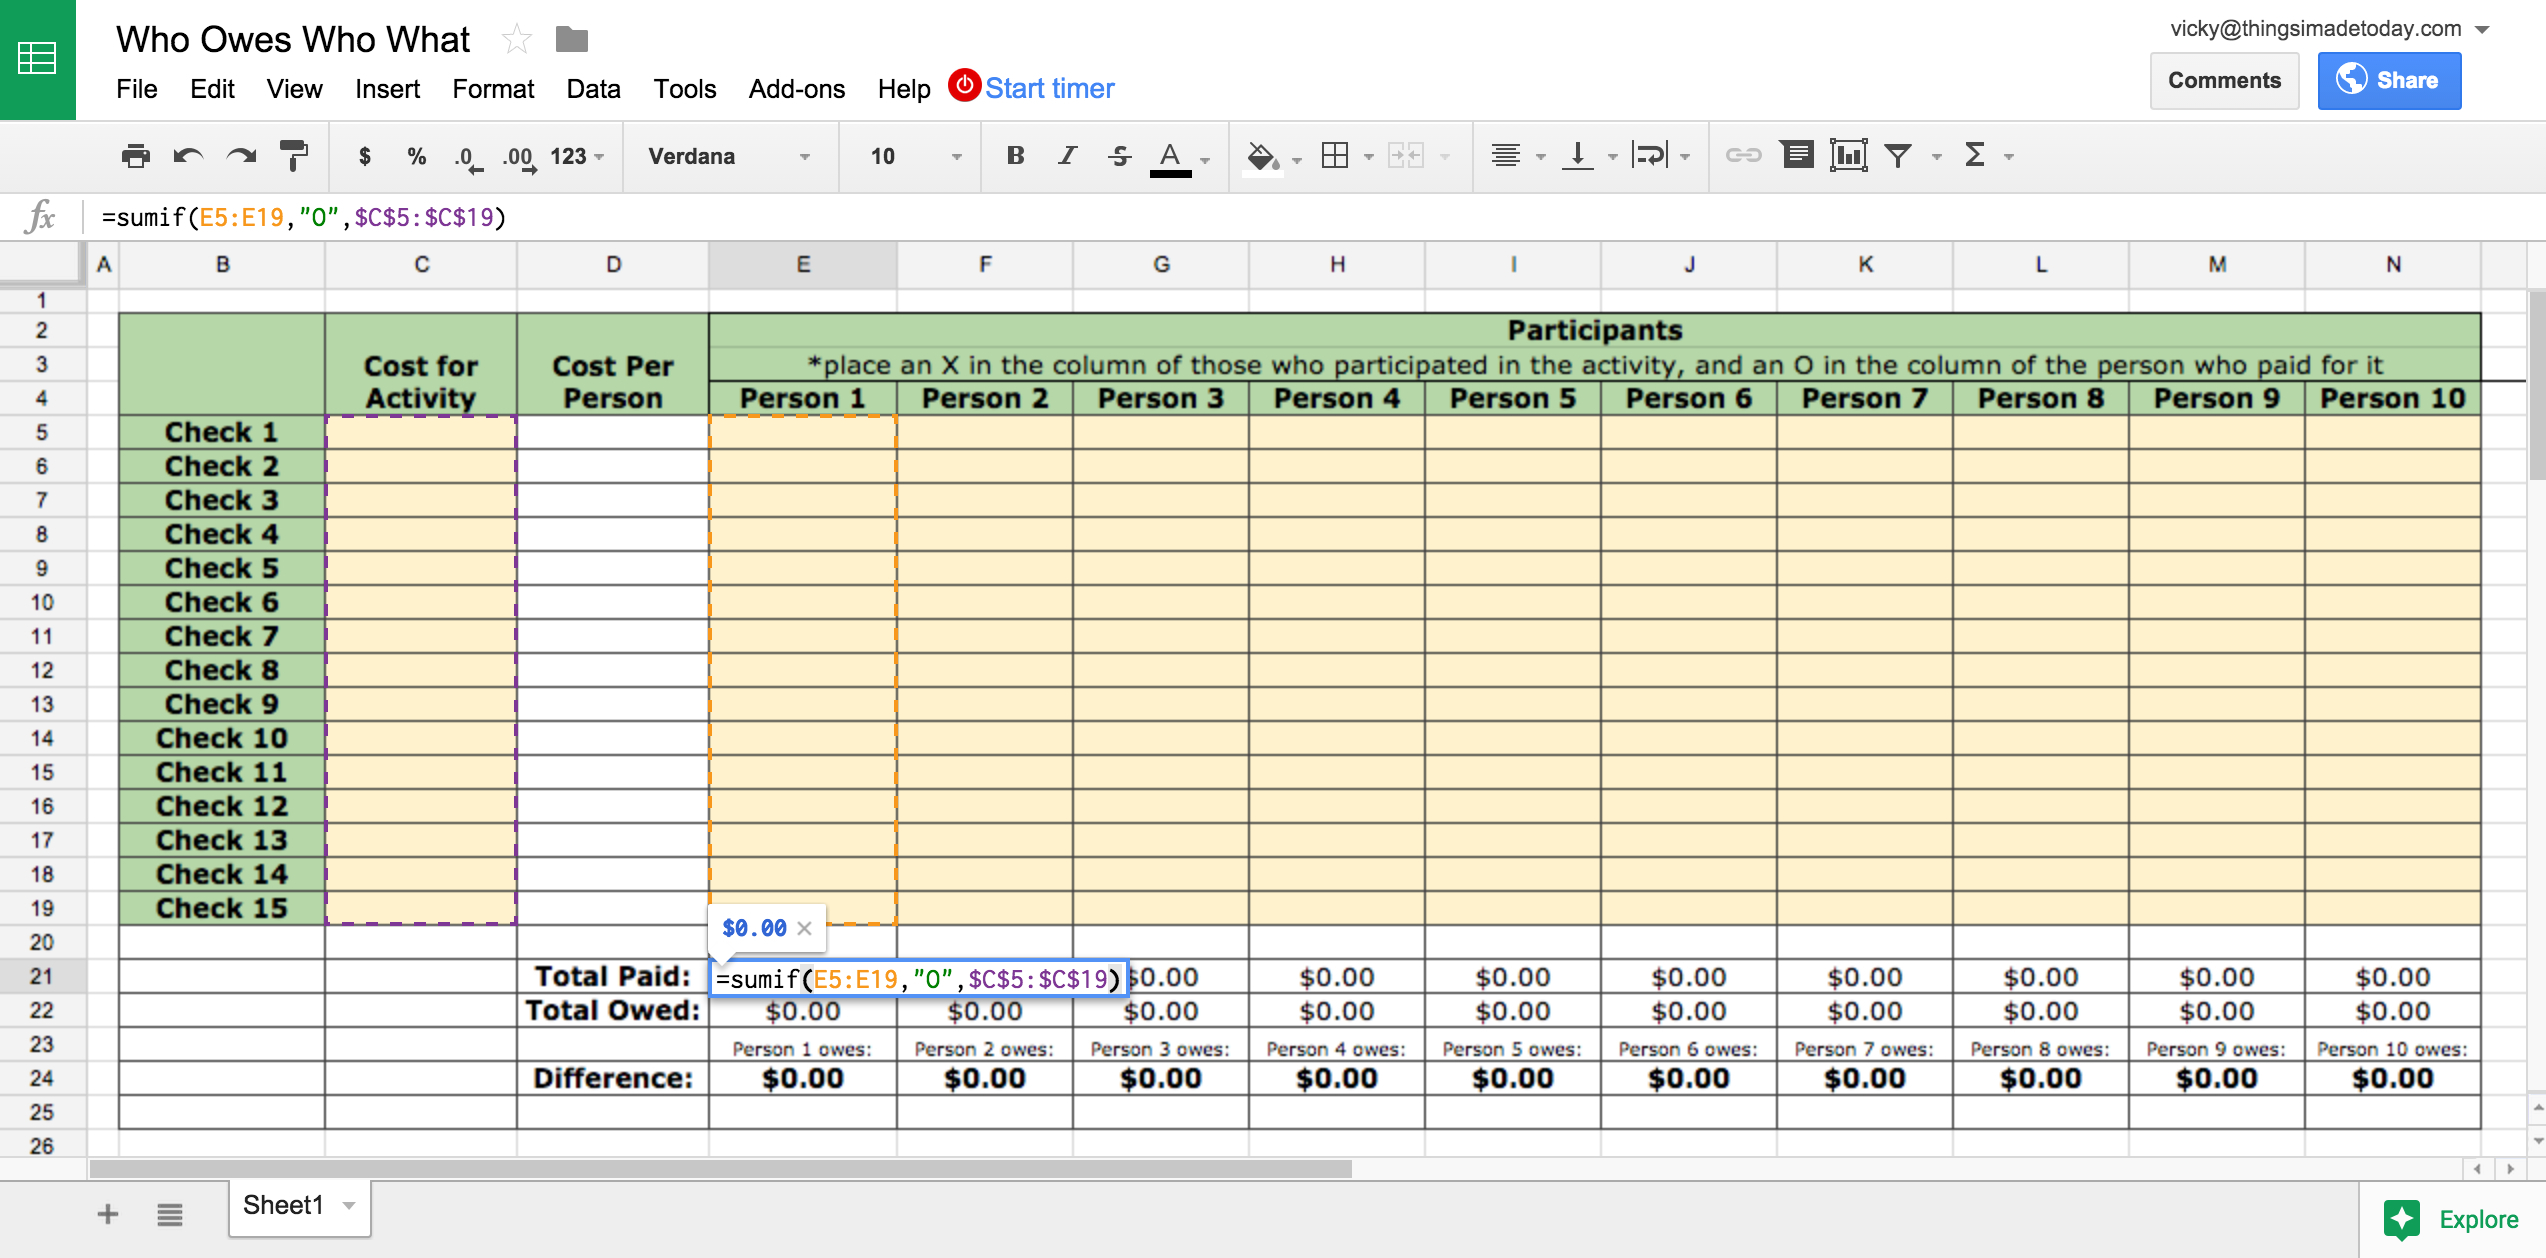
As you start to create your spreadsheet, you'll want to make sure that it's organized and easy to read. One way to do this is to use headings and titles to separate different sections of your spreadsheet. You can also use formatting tools, such as bold and italics, to make your spreadsheet more visually appealing. Additionally, you can use formulas and functions to perform calculations and analyze your data.
Finally, once you've created your spreadsheet, you'll want to make sure that it's saved and backed up. To do this, simply click on the 'File' tab and select 'Save As'. You can then choose a location to save your spreadsheet and give it a name. You can also use the 'Share' feature to share your spreadsheet with others. By following these simple steps and tips, you can create a professional-looking Excel spreadsheet that will help you achieve your goals.