A Beginner's Guide to Creating STL Files for 3D Printing
What is an STL File?
If you're interested in 3D printing, you've probably heard of STL files. STL stands for Stereolithography, and it's a file format used to describe the surface geometry of a 3D object. In this article, we'll take a closer look at how to make STL files for 3D printing. Whether you're a beginner or an experienced designer, creating an STL file is an essential step in bringing your 3D model to life.
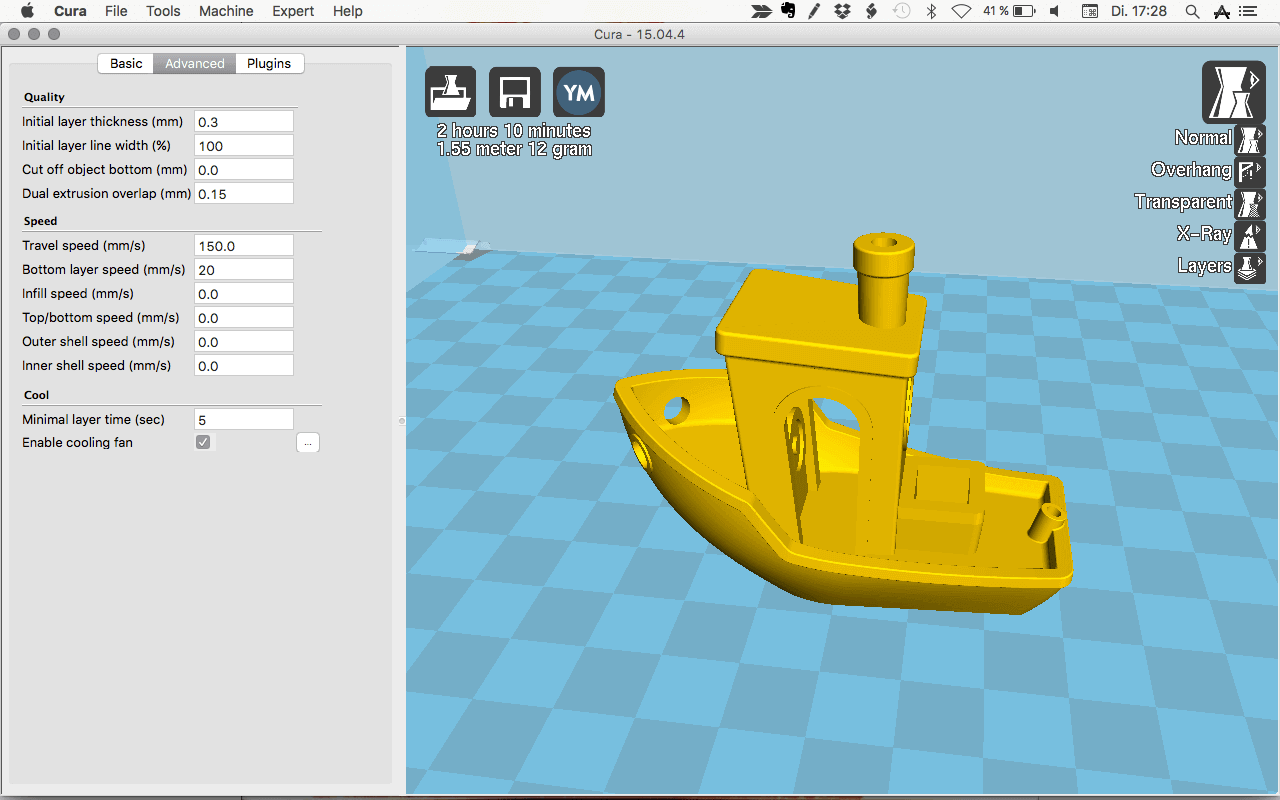
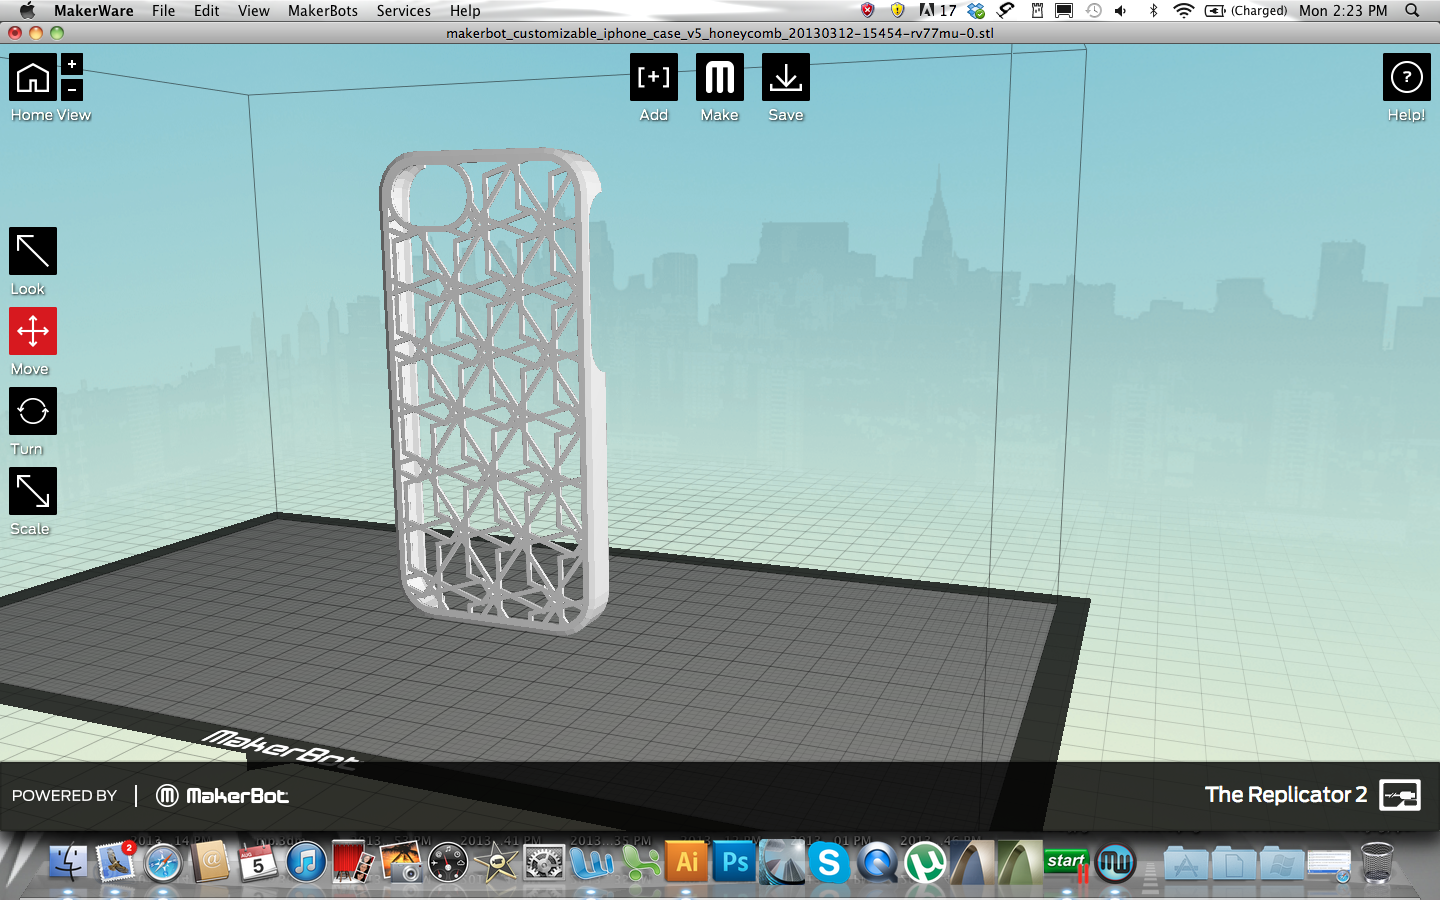
To create an STL file, you'll need to use 3D modeling software. There are many programs available, both free and paid, that can help you design and export your 3D model in STL format. Some popular options include Tinkercad, Fusion 360, and Blender. When choosing software, consider the level of complexity you need and the type of project you're working on. For example, if you're creating a simple model, Tinkercad might be a good choice. For more complex designs, Fusion 360 or Blender might be more suitable.
How to Create an STL File
What is an STL File? An STL file is a text file that contains the coordinates of the triangles that make up the surface of a 3D object. It's a widely supported format that can be read by most 3D printers and slicing software. When you create an STL file, you're essentially creating a blueprint for your 3D printer to follow. The file contains information about the object's shape, size, and orientation, which allows the printer to produce an accurate physical representation of your design.
How to Create an STL File To create an STL file, start by designing your 3D model using your chosen software. Once you're happy with your design, look for the export option and select STL as the file format. You may need to adjust settings such as resolution and units to ensure your file is compatible with your 3D printer. After exporting your STL file, you can use slicing software to prepare it for printing. With these simple steps, you can create an STL file and bring your 3D model to life.