
A Step-by-Step Guide: How To Print Avery Labels In Word


Setting Up Your Avery Labels in Word
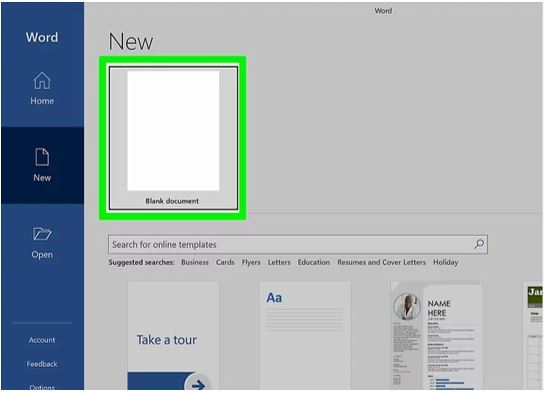
Printing Avery labels in Word can seem like a daunting task, but it's actually quite straightforward. With the right guidance, you can create and print your own labels in no time. To get started, you'll need to have Microsoft Word installed on your computer, as well as a pack of Avery labels. Make sure to check the label size and type to ensure you're using the correct template in Word.
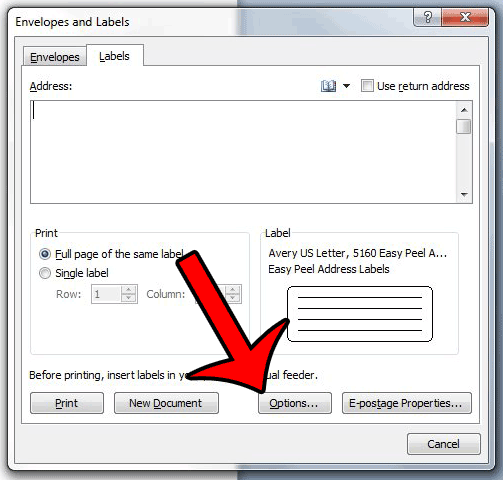
To set up your Avery labels in Word, you'll need to select the correct template. You can do this by going to the 'Mailings' tab and clicking on 'Labels'. From here, you can select the type of label you're using and the size. Word will then create a template for you to use. You can also use the Avery template wizard to help you get started. This wizard will guide you through the process of setting up your labels and ensure that they're formatted correctly.
Printing Your Avery Labels
Once you've set up your template, you can start designing your labels. You can add text, images, and other elements to make your labels stand out. Make sure to keep your design simple and clear, as labels can be small and difficult to read. You can also use the 'Table' tool to create a grid and help you align your text and images. When you're happy with your design, you can move on to the next step: printing your labels.
Printing your Avery labels is the final step in the process. To do this, simply click on the 'Print' button in Word and select your printer. Make sure to select the correct label size and type, and adjust the print settings as needed. You can also use the 'Print Preview' feature to check your labels before printing. This will give you a chance to make any last-minute changes and ensure that your labels are printed correctly. With these simple steps, you can create and print your own Avery labels in Word.