
How To Print Custom Labels At Home
Materials Needed
Printing custom labels at home can be a convenient and cost-effective way to organize your belongings, decorate gifts, or even start a small business. With the right materials and software, you can create professional-looking labels in the comfort of your own home. In this article, we will guide you through the process of printing custom labels at home, from preparing your materials to applying the finished labels.
To get started, you will need a few basic materials, including a printer, label paper, and a computer with label-making software. You can choose from a variety of label papers, such as blank labels, sticker paper, or even cardstock. The type of paper you choose will depend on the intended use of your labels and the level of durability you need. For example, if you are creating labels for outdoor use, you may want to choose a waterproof label paper.
Printing and Applying Your Labels
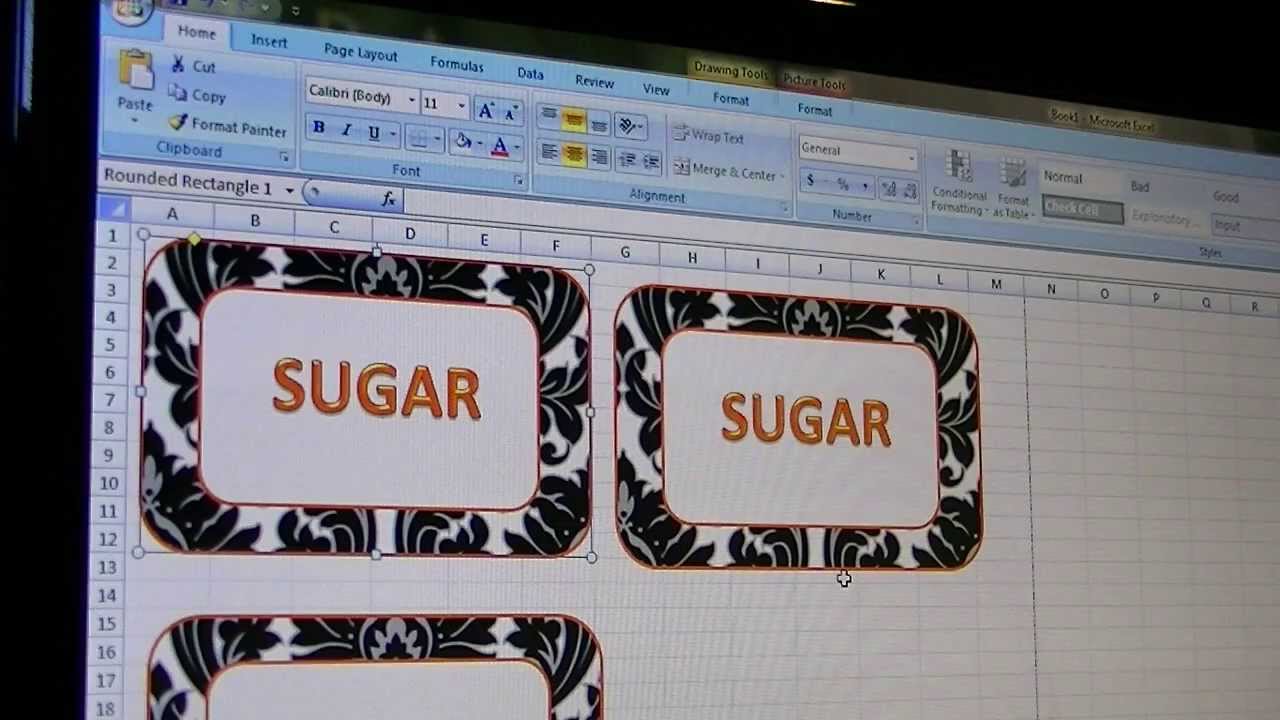
Once you have your materials, you can begin designing your labels using your chosen software. Many popular software programs, such as Microsoft Word or Adobe Illustrator, offer label-making templates and tools. You can also use online label-making platforms or apps to create and print your labels. When designing your labels, be sure to consider the size, shape, and content of your labels, as well as the font and color scheme.
After designing and printing your labels, you can apply them to your desired surface. Make sure the surface is clean and dry before applying the label to ensure a strong bond. You can use your labels for a variety of purposes, such as organizing files, labeling storage containers, or even creating custom gift tags. With the right materials and software, printing custom labels at home can be a fun and rewarding experience that adds a personal touch to your projects and belongings.