
How to Print Double Sided PDF on Mac: A Step-by-Step Guide


Printing Double Sided PDFs using Preview
Printing double sided PDFs on a Mac can be a bit tricky, but it's a great way to save paper and reduce your environmental footprint. Whether you're a student, a professional, or just someone who wants to be more eco-friendly, printing double sided PDFs is a simple and effective way to make a difference. In this article, we'll show you how to print double sided PDFs on a Mac using Preview and Adobe Acrobat.
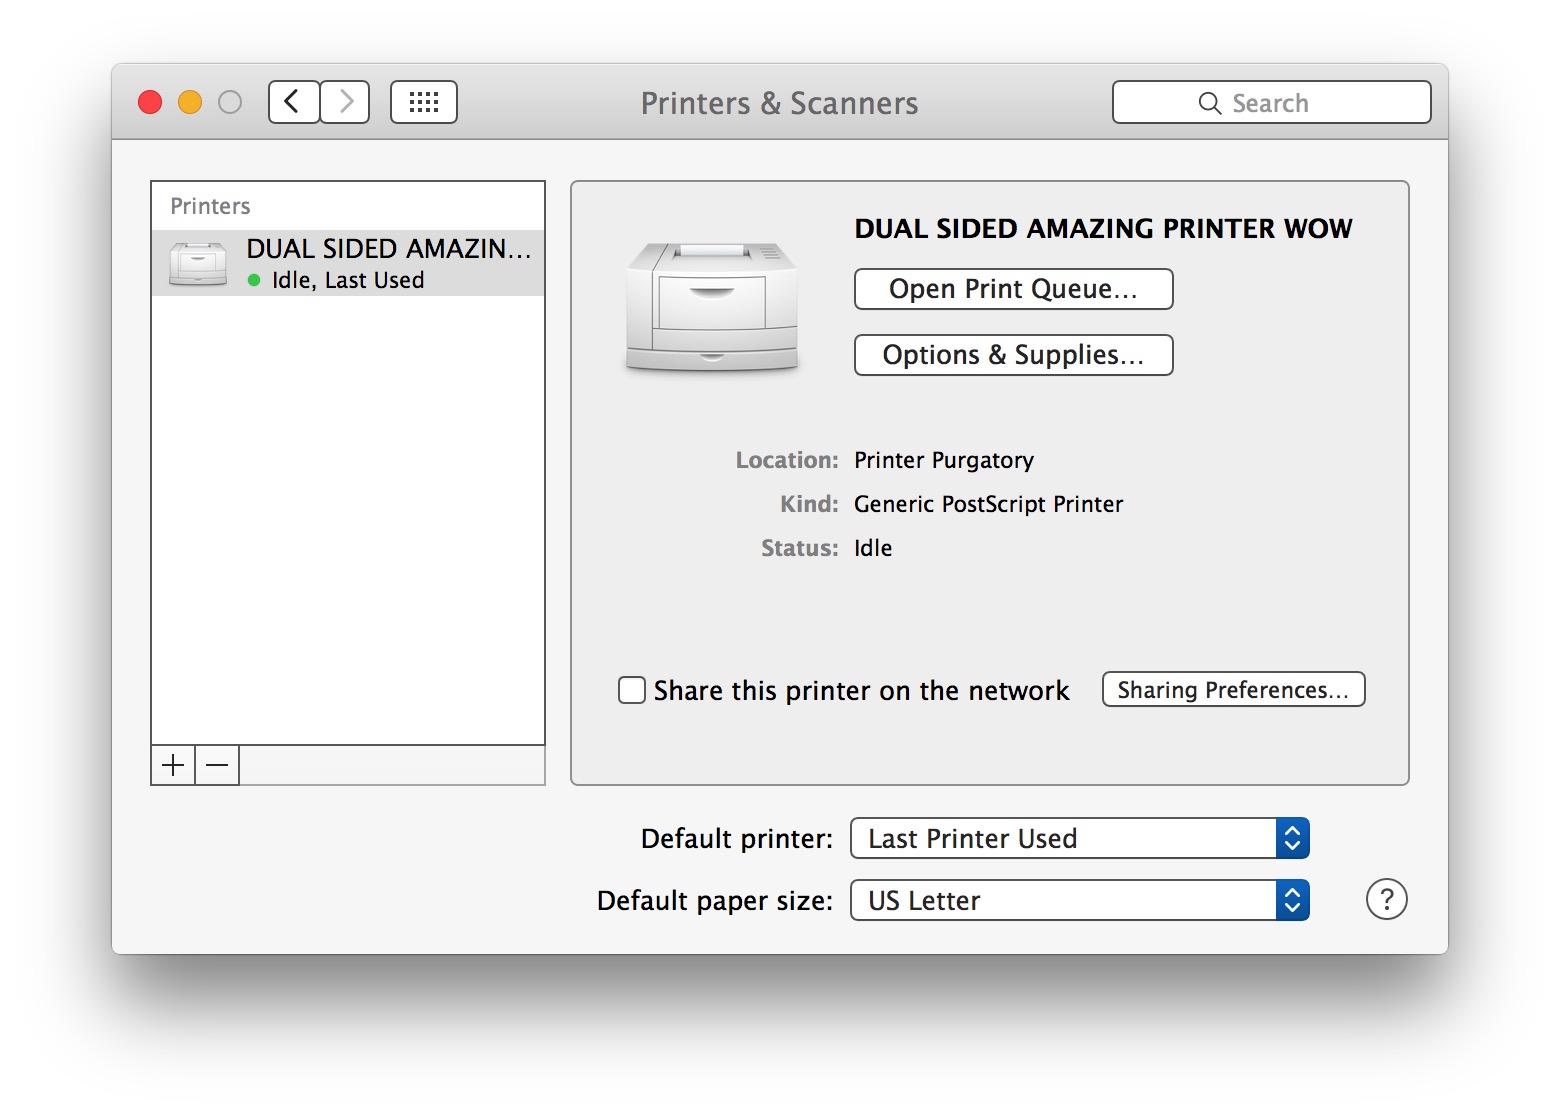
To print a double sided PDF using Preview, start by opening the PDF file in Preview. Then, click on 'File' and select 'Print' from the drop-down menu. In the print dialog box, click on the 'Show Details' button at the bottom left corner. This will give you more printing options. Look for the 'Layout' or 'Paper Handling' section and select the 'Double-Sided' or 'Two-Sided' printing option. You can then choose whether you want to print on both sides of the paper (duplex printing) or on the long or short edge of the paper.
Printing Double Sided PDFs using Adobe Acrobat
If you have Adobe Acrobat installed on your Mac, you can also use it to print double sided PDFs. The process is similar to using Preview, but you'll have more advanced printing options available to you. To print a double sided PDF using Adobe Acrobat, start by opening the PDF file in Adobe Acrobat. Then, click on 'File' and select 'Print' from the drop-down menu. In the print dialog box, click on the 'Properties' or 'Preferences' button to access more printing options. Look for the 'Layout' or 'Paper Handling' section and select the 'Double-Sided' or 'Two-Sided' printing option. You can then choose whether you want to print on both sides of the paper (duplex printing) or on the long or short edge of the paper. By following these simple steps, you can easily print double sided PDFs on your Mac and do your part for the environment.