How To Print Envelopes In Word Using Mail Merge
Setting Up Mail Merge
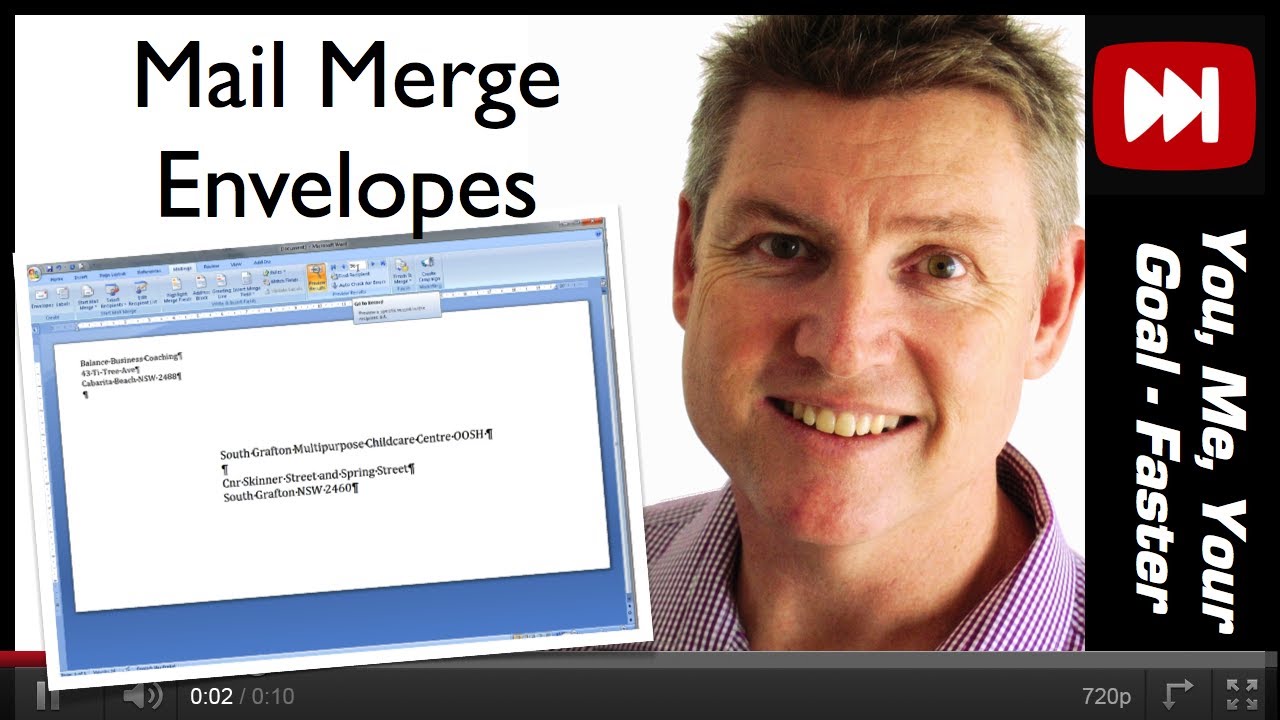
Printing envelopes can be a tedious task, especially when you have a large list of addresses to print. However, with Microsoft Word's mail merge feature, you can easily print envelopes with just a few clicks. In this article, we will guide you through the process of printing envelopes in Word using mail merge.
To start, you will need to set up your mail merge. This involves creating a new document in Word and selecting the 'Mailings' tab. From here, you can choose the 'Select Recipients' option and either type in your addresses manually or import them from a database or spreadsheet. Once you have your list of addresses, you can proceed to the next step.
Printing Your Envelopes
Setting Up Mail Merge When setting up your mail merge, it's essential to ensure that your addresses are formatted correctly. You can use the 'Address Block' feature to format your addresses, and you can also add any additional information such as names or titles. Once you have formatted your addresses, you can proceed to the 'Envelope Options' section, where you can select the envelope size and layout.
Printing Your Envelopes Finally, it's time to print your envelopes. With your mail merge set up and your envelopes formatted, you can select the 'Print' option to send your envelopes to the printer. Make sure to select the correct printer and envelope size to ensure that your envelopes print correctly. With these simple steps, you can easily print envelopes in Word using mail merge, saving you time and effort in the process.