How to Print Name Badges in Word: A Step-by-Step Guide
Creating Your Name Badge Template
Printing name badges in Word is a straightforward process that can be completed in a few simple steps. Whether you're hosting a conference, meeting, or event, name badges are a great way to help attendees identify one another. To get started, you'll need to open Microsoft Word and create a new document. From there, you can choose a template or start from scratch, depending on your design preferences.
When it comes to designing your name badges, there are a few things to keep in mind. First, consider the size of your badges. Standard name badge sizes range from 2x3 inches to 3x4 inches, so be sure to set your document to the correct size. You'll also want to choose a font that's easy to read, such as Arial or Times New Roman, and select a font size that's large enough to be visible from a distance.
Printing Your Name Badges
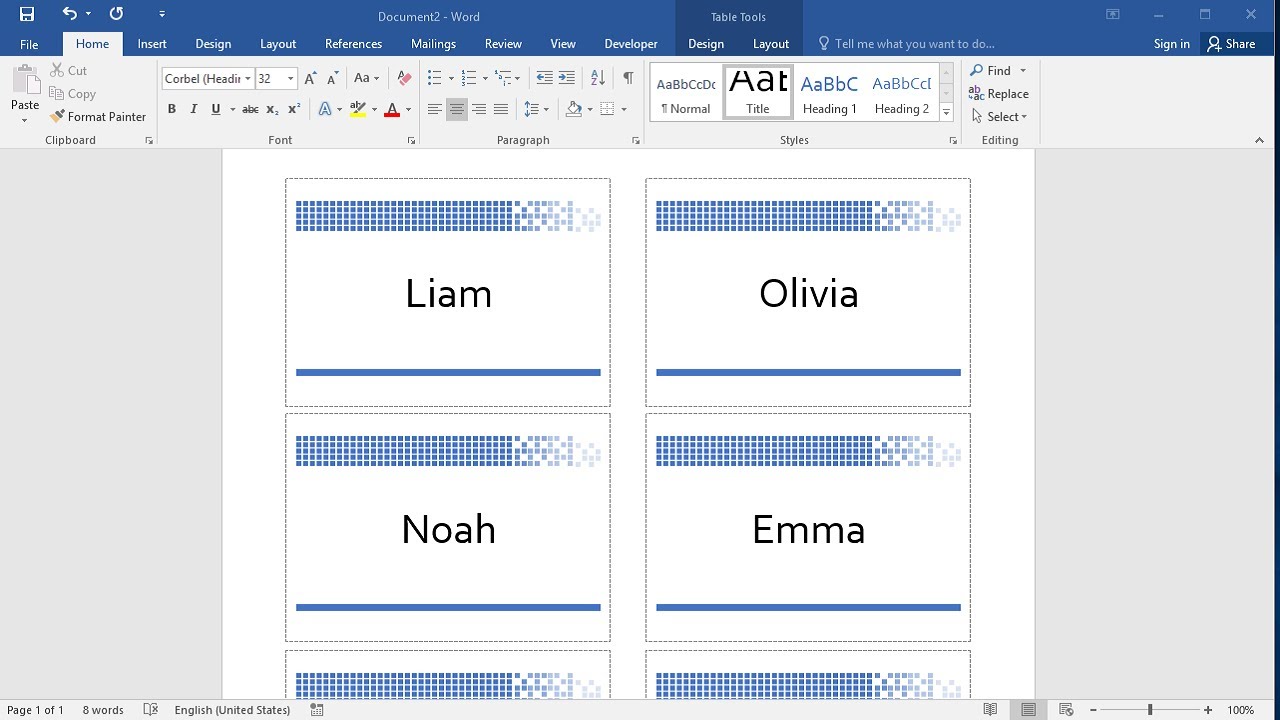
Once you've designed your name badge template, it's time to add the names and titles of your attendees. You can do this by creating a table or using a mail merge feature in Word. If you're using a table, simply type in the names and titles, and adjust the columns and rows as needed. If you're using a mail merge, you'll need to create a separate document with the attendee information, and then merge it with your name badge template.
Finally, it's time to print your name badges. Make sure you have the correct paper size and type loaded into your printer, and adjust the print settings as needed. You can print your name badges on cardstock or sticker paper, depending on your preferences. With these simple steps, you can create professional-looking name badges in Word that will help make your event a success.