
How To Print Using Freezer Paper: A Step-by-Step Guide


What is Freezer Paper and How Does it Work?
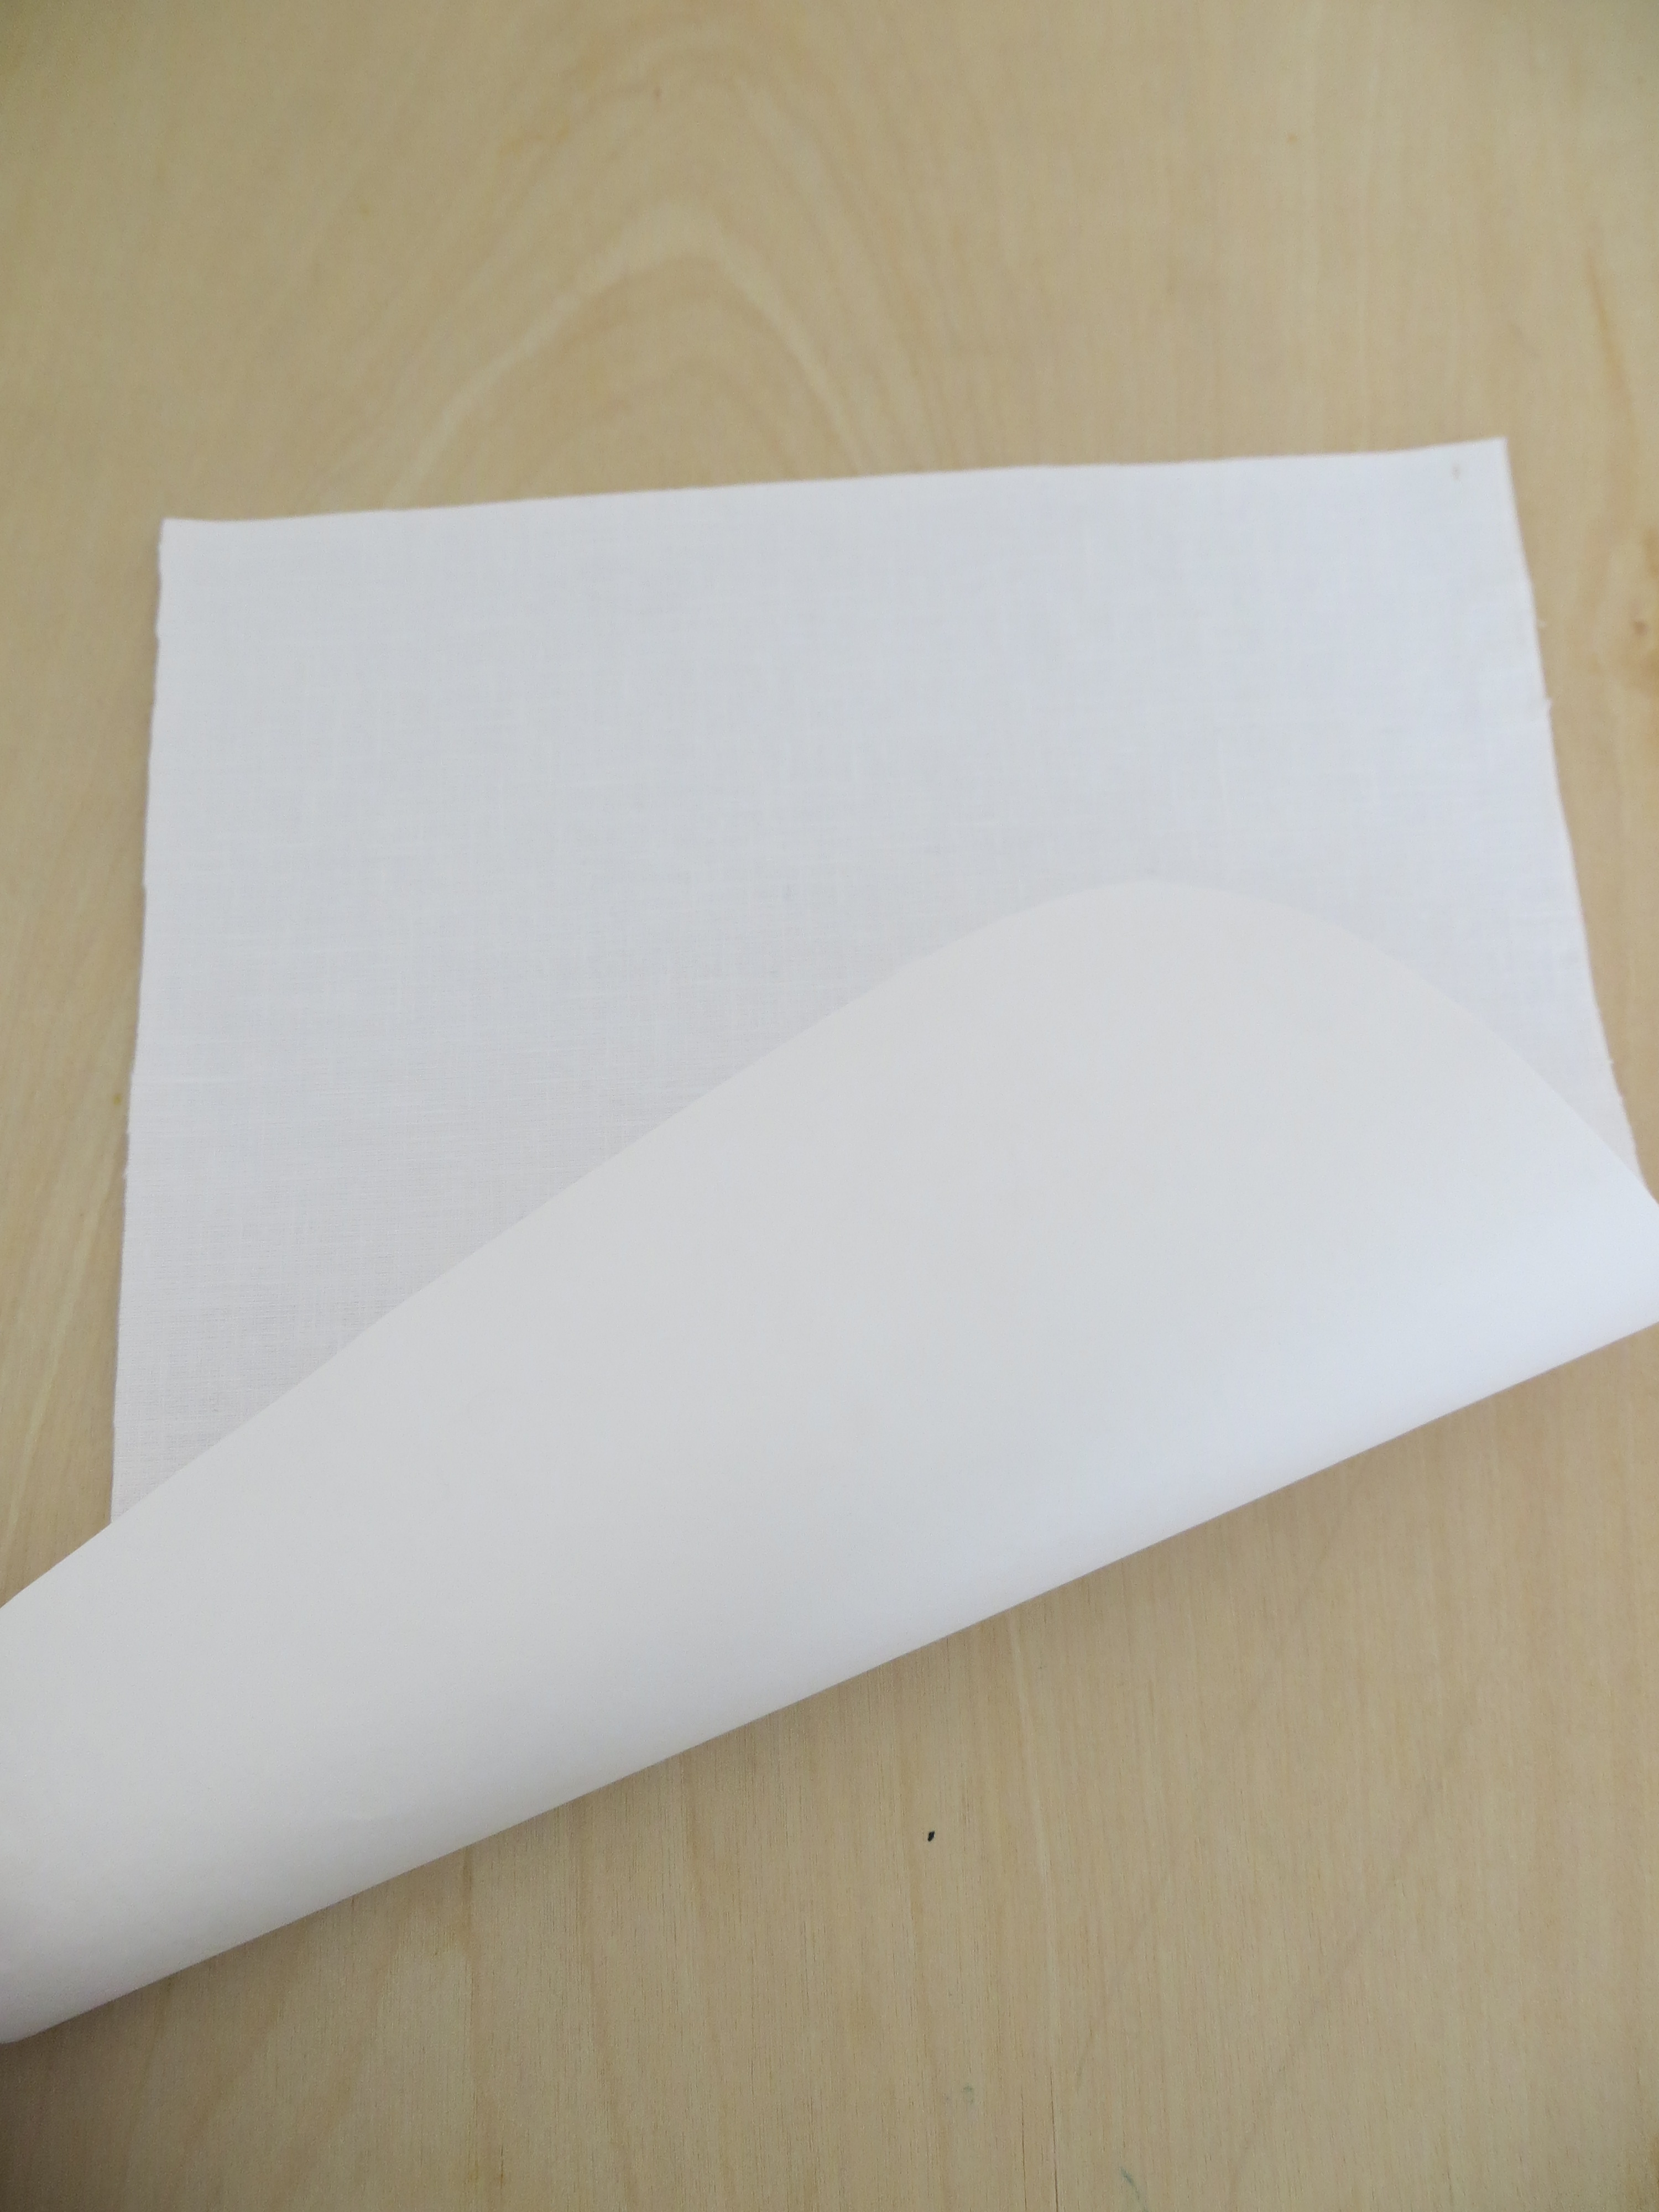
Printing using freezer paper is a game-changer for crafters and sewists. It allows for easy and precise transfer of designs onto fabric, making it a must-have technique for anyone looking to add custom designs to their projects. But how does it work? Freezer paper is a type of paper that is coated with a thin layer of plastic on one side, making it perfect for printing and transferring designs onto fabric.
To get started with printing using freezer paper, you'll need a few basic supplies. These include a printer, freezer paper, and fabric. You'll also need a design or image to print, which can be created using a computer program or found online. Once you have all your supplies, simply print your design onto the freezer paper using your printer. Make sure to use the correct settings to ensure the best results.
Tips and Tricks for Successful Freezer Paper Printing
What is Freezer Paper and How Does it Work? Freezer paper is a special type of paper that is designed for printing and transferring designs onto fabric. The plastic coating on the paper allows it to stick to the fabric, making it easy to transfer the design. This technique is perfect for sewing and crafting projects, such as making custom t-shirts, bags, and home decor items.
Tips and Tricks for Successful Freezer Paper Printing To get the best results when printing using freezer paper, make sure to use high-quality paper and follow the instructions carefully. It's also a good idea to test the paper and printer settings before printing your final design. With a little practice and patience, you'll be able to achieve professional-looking results and take your crafting and sewing projects to the next level.