
Print Stickers with Cricut: A Guide to Creating Custom Designs


Getting Started with Cricut Sticker Printing
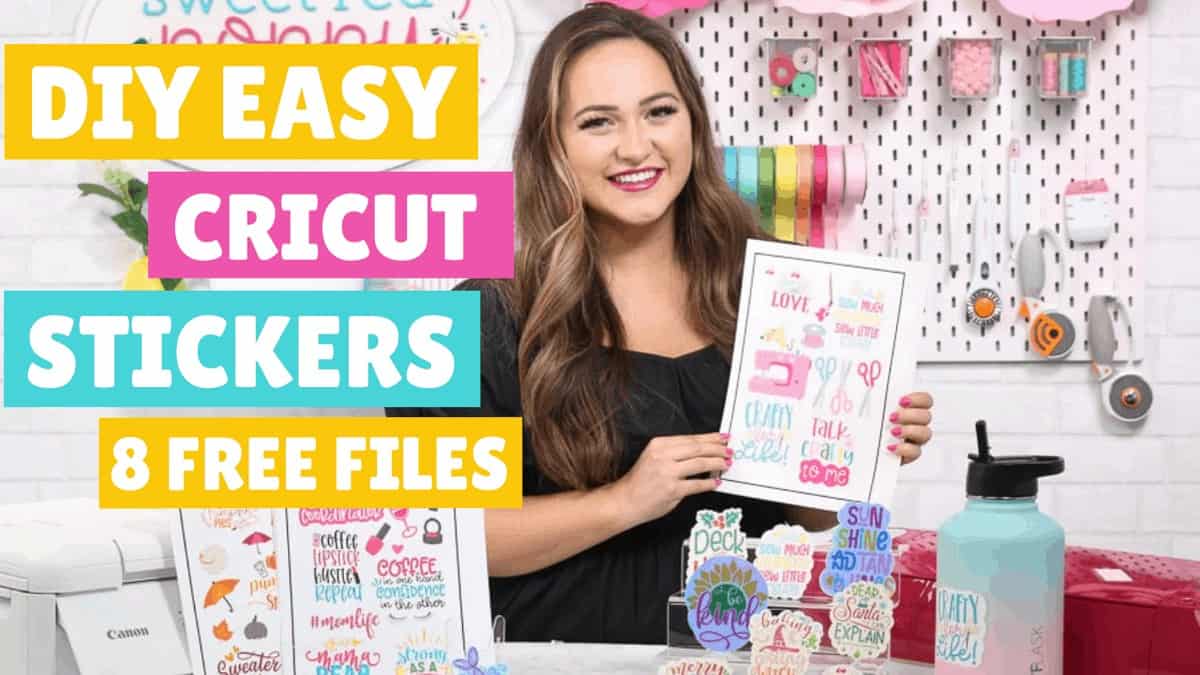
Printing stickers with Cricut is a fun and creative way to add a personal touch to your projects. With the right materials and settings, you can create custom stickers that are perfect for scrapbooking, card making, and other crafts. In this article, we'll explore the basics of printing stickers with Cricut and provide tips and tricks for getting the best results.
To get started with printing stickers with Cricut, you'll need a few basic materials. These include a Cricut machine, sticker paper or vinyl, and a printer. You'll also need to choose a design or image to print, which can be done using the Cricut Design Space software or other design programs. Once you have your materials and design ready, you can send the file to your Cricut machine and start printing.
Tips and Tricks for Perfect Sticker Printing
When printing stickers with Cricut, it's essential to use the right settings to ensure that your stickers turn out correctly. This includes choosing the right material settings, blade depth, and pressure. You'll also want to make sure that your sticker paper or vinyl is properly aligned and loaded into the machine. With a little practice, you'll be able to print stickers like a pro and add a professional touch to your projects.
To take your sticker printing to the next level, there are a few tips and tricks to keep in mind. These include using high-quality sticker paper or vinyl, adjusting the blade depth and pressure for optimal results, and experimenting with different designs and colors. With these tips and a little creativity, you can create custom stickers that are perfect for your projects and add a personal touch to your crafts.