
A Step-by-Step Guide to Printable Iron On Instructions

Getting Started with Printable Iron On
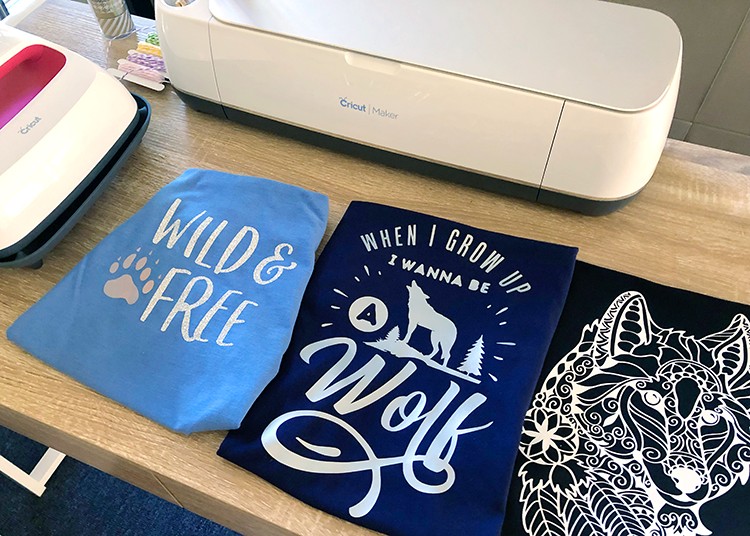
Are you looking for a fun and creative way to customize your clothes and accessories? Look no further than printable iron on transfers. With these easy-to-use transfers, you can add your favorite designs, quotes, and images to t-shirts, tote bags, and more. In this article, we'll provide you with a step-by-step guide on how to use printable iron on instructions to achieve a professional-looking finish.
The first step in using printable iron on transfers is to choose your design. You can find a wide range of pre-made designs online, or create your own using a graphics program. Once you have your design, you'll need to print it onto the iron on transfer paper. Make sure to use a high-quality printer and follow the manufacturer's instructions for the best results.
Tips and Tricks for a Professional Finish
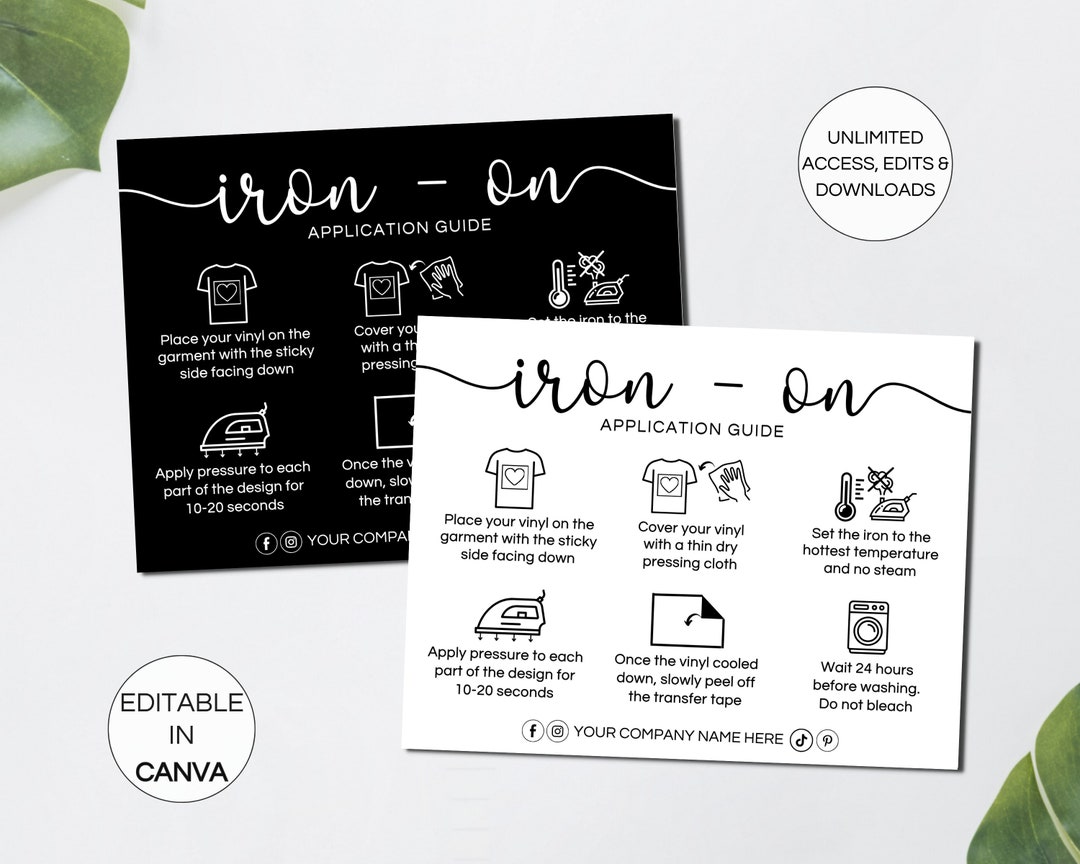
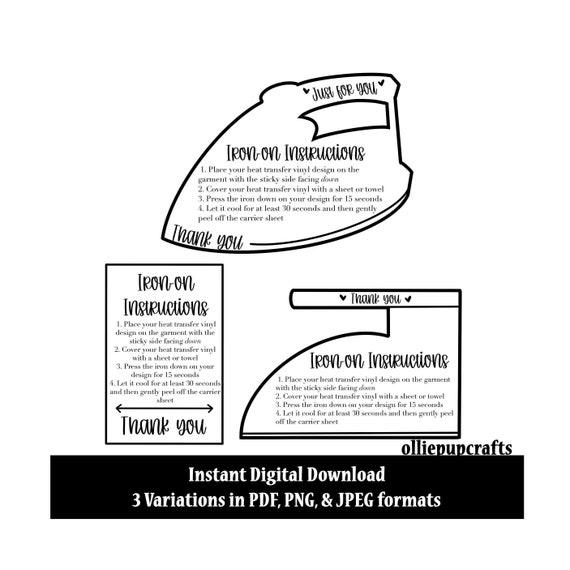
To apply the iron on transfer, preheat your iron to a high temperature and place the transfer on the fabric, image-side down. Cover the transfer with a piece of parchment paper or a cloth, and iron over the design using a slow and steady motion. Apply firm pressure and make sure to iron the entire design, including the edges. Tips and Tricks for a Professional Finish
With a little practice, you'll be able to achieve a professional-looking finish with your printable iron on transfers. One tip is to use a high-quality iron on transfer paper that is specifically designed for the type of fabric you're using. You should also make sure to follow the manufacturer's instructions for the iron on transfer paper, as well as the fabric you're applying it to. By following these tips and using the right materials, you'll be able to create custom clothes and accessories that look great and last a long time.